Do these 3 things before closing this tab:
1Clear out junk files and repair common Windows errors2Scan for outdated or missing drivers - takes under a minute3Repair Windows errors before they cause bigger problemsThatPainter is reader-supported. When you buy through links on our site, we may earn an affiliate commission. Learn More
When it comes to decorating your home, it’s important to make sure that the exterior reflects the work being done inside, something that is easier said than done.
As an Amazon Associate I earn from qualifying purchases.
Not only can painting the outside of your house take a long time but it also only looks complete once every feature has been painted. This means that you also need to paint the windows and shutters, which is a simple process once you have the proper tools to finish the job.
The Tool Desk
Outbyte Driver Updater FREEScan for outdated or missing drivers - takes under a minuteDriver Scan →Outbyte PC Repair FREEClear out junk files and repair common Windows errorsFree Scan →Once upon a time, shutters were a common feature and were used as a practical way to control the amount of light coming through your windows. However, they are now considered fashionable statements that can make your house look like a gothic mansion or victorian revival.
#1 Best Overall

- Highly durable satin finish
- Resists scratches and scuffs
- Excellent color retention
- Easy application covers up to 350 sq. ft. per gallon
- Fast drying: to touch 2-4 hours, to recoat 8 hours
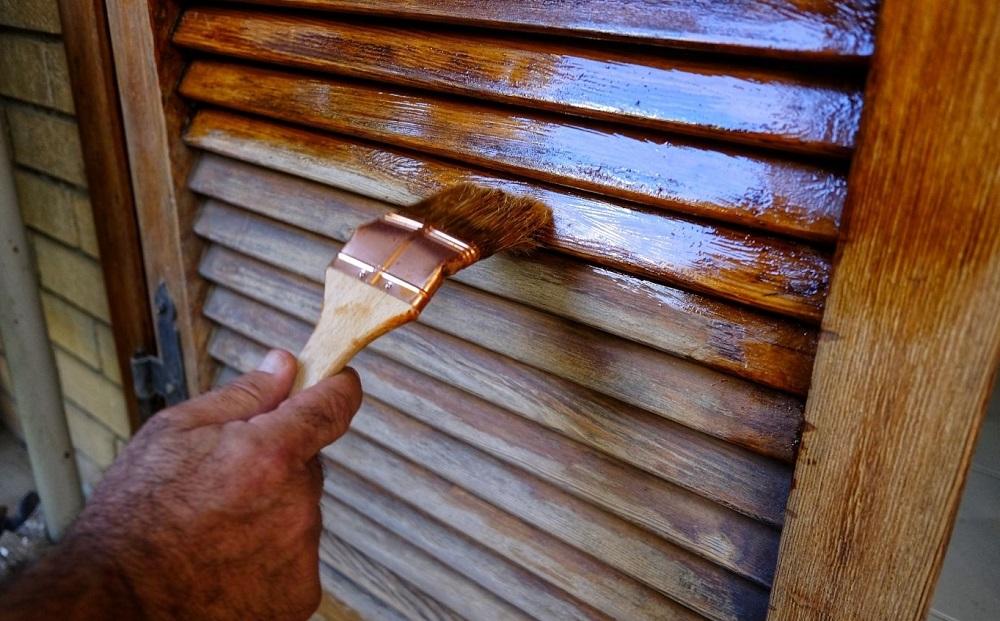
These days, most shutters are commonly made from materials such as wood and vinyl, with the latter being a cost-efficient alternative for decorators and homeowners alike. So if you want to know how you can brighten up your vinyl shutters, then you have come to the right place.
In the following article, we are going to teach you how to paint your vinyl shutters in a fast and efficient way, while also outlining how you should prepare the shutters and what kinds of paint will yield the best results. Now let’s take a look at how you can freshen up your home by painting your vinyl shutters.
Can You Paint Vinyl Shutters?
Not only is it possible to paint your vinyl shutters but it is also very easy, which means it can be used as a fast and simple way to freshen up the appearance of your home.
In the past, vinyl was a material that was best avoided when it came to painting, as the substance is naturally maintenance-free until the first coat of paint has been applied. This means that once you have painted the material, it needs to be well cared for, otherwise, you could risk the paint peeling off or the vinyl overheating and becoming warped.
However, these days painting vinyl is a much easier process, as there are new vinyl safe products and technologies that can be used for a professional and lasting finish. Because of these new inventions, painted vinyl can last for up to ten years without any maintenance, which makes the overall upkeep more accessible.
Can You Spray Paint Vinyl Shutters?
It is also possible to paint your vinyl shutters using spray paint, with companies such as Krylon and Rustoleum producing a wide variety of products that are known to bond well with the material. However, it is important to make sure that you do not apply the paint in thick or uneven layers.
When it comes to spray painting your vinyl shutters, you need to approach the process in a similar fashion to manual painting, which means you should only use thin layers while following the instructions printed on the side of the can.
Quick wins for a faster PC:
Fix the driver behind crashes, sound loss and screen glitchesFind Drivers →Clear out junk files and repair common Windows errorsFree Scan →Scan for outdated or missing drivers - takes under a minuteDriver Scan →Because the solvents in spray paint can be extremely toxic, it is recommended that you wear protective clothing when using this method to paint your shutters.
What Are The Best Paints For Vinyl Shutters?
When it comes to painting your vinyl shutters, you need to make sure that you are using the correct paint for the material. Otherwise, you could risk encountering the problems that we previously discussed.
For the best results, you will need to use a high-quality acrylic paint, which includes any exterior product curated by companies such as Sherwin Williams, Benjamin Moore, Behr and countless others. However, this does not mean that all acrylic paints are suitable for vinyl, as you also have to consider the color that you are using.
Dark colors will commonly absorb more heat and light than pale hues, which could result in your vinyl shutters overheating and becoming warped. Something that is particularly true when dealing with vinyl siding.
Recommended Free Tools
Rank #2

- Ultra Premium Paint and Primer In One
- Weather Resistant, Fade Resistant, Stain Resistant, Easy to Clean
- High Hiding Formula for Excellent Coverage with Smooth Application
- Low VOC: Less than 50 gms/L 0.42 lbs/gal.
- Durable and washable premium stain resistant coating
So to combat this issue, you will need to purchase an exterior paint from a brand that specializes in vinyl safe color technologies. These are products that use innovative pigment blends to create their color, which means they do not absorb heat in the same way as normal paints.
This means that these paints will have little effect on your vinyl shutters, making them the best choice for the job.
What Tools & Materials Will You Need?
Before we can show you how to paint your vinyl shutters, you must first understand what tools and materials you will need to complete the job.
Fortunately, painting your vinyl shutters does not require any professional equipment, with most of the supplies you need being found in your house or garage.
PC Slower Than It Used to Be?
A free scan shows the junk files, broken settings and background clutter dragging Windows down - then fixes them in one click.Free scan · Windows 10 & 11Outdated Drivers Are Slowing You Down
One free scan finds every outdated or missing driver and matches the right update for your exact hardware.Free scan · exact hardware matchAnd although it is possible to spray paint your shutters, this does not mean that a paint sprayer is necessary. This is because paint sprayers are considered to be a more professional approach to the process and can be very difficult to work with if you do not have any prior experience.
Beyond this, paint sprayers are also very expensive and take time to master correctly. For this reason, we recommend using a good old paintbrush and some elbow grease, as these are all you need for a professional finish.
If you want to know what other supplies you will need, we have compiled a helpful list in the section below:
- Drill
- Step ladder
- Paintbrush (2.5-inches)
- Scrub pad
- Kitchen soap
- Sanding sponges
- Vacuum cleaner
- Primer
- Vinyl safe topcoat paint
Now that you understand everything that you will need, let’s take a look at how you can paint your vinyl shutters for the best results.
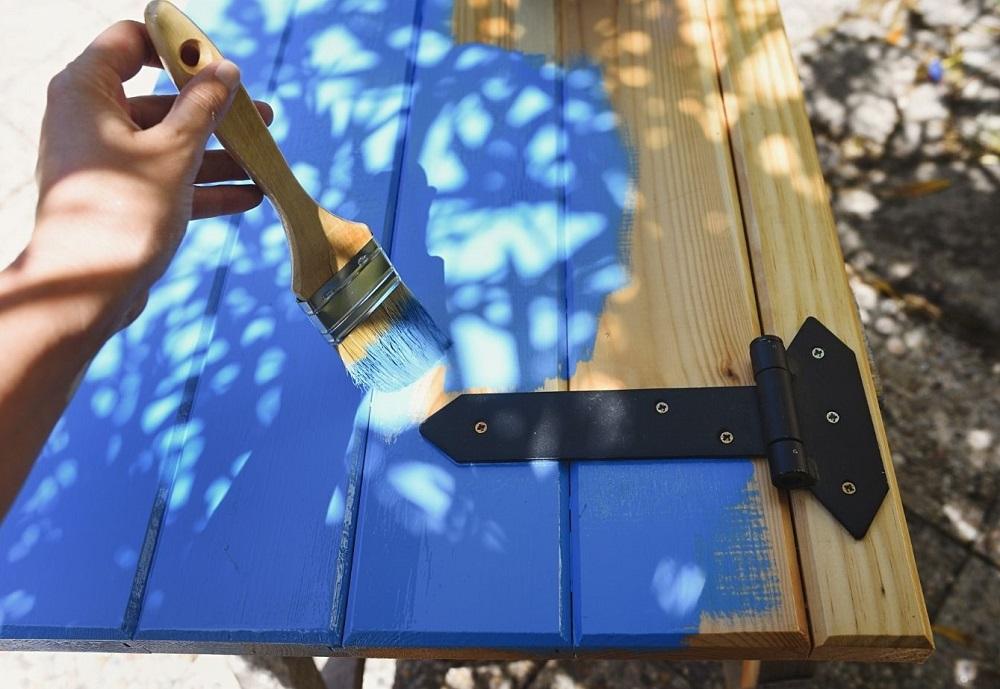
Step One: Remove The Shutters
To begin properly painting your vinyl shutters, you will need to physically remove them from the exterior of your home.
This is because removing the shutters will make the overall task much easier, as it will allow you to paint them on a flat and solid surface.
These days, most vinyl shutters are held in place by 4-6 plugs and occasionally a handful of screws. So we recommend checking out our shutters beforehand to determine what tools you will need to remove them.
Rank #3

- ENAMEL FLOOR PAINT: Provide your floors with an extremely durable and long-lasting finish using California Paint ALLFLOR Porch, Patio and Floor Enamel Paint.
- EXTREME DURABILITY: Formulated for maximum performance, this enamel paint offers excellent alkali, water and blister resistance. The fade-resistant colors remain bright through heavy use.
- VERSATILE APPLICATIONS: Porch, Patio and Floor Enamel adheres to a variety of surfaces. It makes an ideal basement, porch, playroom, pool deck or patio paint.
- EASY TO APPLY: Ensure your surface is clean and free of defects and apply with a brush or roller. Follow all directions on label for application.
- LIFE IN COLOR: Known as the paint industry's historic color authority, California paints offers the highest quality coatings in more than 1,500 distinct colors. Find yourself a timeless classic or start a new trend.
If your vinyl shutters are held in place by plugs, then you can pull them out by using the flat end of a screwdriver and a pair of pliers. However, you must make sure that you do not damage the plugs during the removal process, as you will need to reuse them later on.
Step Two: Prepping The Shutters
When you have finished removing your vinyl shutters, you will need to place them on a flat surface until you are ready to paint. For this, we recommend laying down a drop cloth on the ground, whether that be in your garage or on the driveway.
During this step, it is best to place the shutters in an area with little to no sunlight, as this will give you more time when it comes to applying the paint.
To begin the preparation process, you will need to scrub down your vinyl shutters using a combination of soap and warm water. This helps to remove any buildup on your shutters, which can include substances such as dirt, debris, mould and mildew.
Once the shutters are clean, make sure to rinse them down until any excess soap has been flushed away.
Free tools Windows power users keep installed
One-click scans. No signup required.
After the shutters have dried, you will need to scuff them by using a fine-grit sanding sponge, as this will scratch up the surface of the vinyl, while making it easier to paint and prime. Although this step is not entirely necessary, it can work wonders during the priming process and will ensure a clean and professional finish.
Step Three: Priming The Shutters
Once your shutters have been fully prepped, it’s time to begin the priming process. But don’t worry, it’s a lot easier than it sounds.
For this step, you can use any exterior latex primer that is currently available on the market, as any one of these products is perfectly capable of priming your vinyl shutters. Beyond this, primers are commonly white in color, which means you will not have to worry about heat absorption during this part of the process.
Although it is possible to skip this step, we do recommend that you use a primer on your shutters as they have strong binding properties. This means that they can be used to create a stronger connection between the vinyl and the topcoat, which can result in a cleaner finish.
For example, using a primer will often make a difference between shutters that still look good after five years and shutters that need to be constantly repainted to avoid peeling and wear.
Step Four: Painting The Shutters
After you have finished priming your vinyl shutters, you will need to administer another light scuff by using your fine-grit sanding sponge. This should then be followed by a quick vacuum to clean up any excess powder or debris.
Rank #4
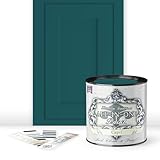
- Includes 30 featured and newest released color card. Sprayed on color to see our colors in your homes lighting for more accurate color choices.
- ALL-IN-ONE Paint - NO Sanding, NO Priming, NO Top Coat Required, Low Luster, Velvet Sheen Finish
- Interior/Exterior - Paint your whole house - Ideal for hard surfaces including walls, doors, cabinets, counters, furniture, metal, glass, ceramics and floor and wall tile
- Durable yet stretches to paint smooth fabrics, vinyl and leather
- Results cannot be guaranteed. Digital screens may not show color accurately. Product search "ALL-IN-ONE PAINT by Heirloom Traditions, Color Confidence Card", for an accurate color choice.
Not only will scuffing your shutters help to ensure a strong bond between the paint and the material, but it will also deliver a smooth and professional finish to the shutters themselves.
When it comes to applying the paint, there is no special trick to ensure an even finish, although we do recommend using thin layers of paint to achieve the best results.
What’s actually slowing this PC down?
Pick the symptom - the matching free tool is one click away.
Just make sure to take your time when it comes to applying the topcoat, as there is no rush to get the shutters done all at once. It is also important to smooth out the paint during the application, as this will help to avoid any clots or runs.
Step Five: Reinstall The Shutters
Once the shutters have been fully painted, you should set them aside until they have had enough time to dry, as this will make them easier to reinstall later on.
If you try to reinstall your shutters before the paint has bonded, then you could risk scratching the topcoat off the vinyl, which can result in some serious damage.
Sometimes installing your shutters too soon can also result in the vinyl becoming bonded to your home, which can make them even more difficult to remove.
Personally, we would recommend letting your shutters rest overnight before reinstalling, as this should give them plenty of time to dry correctly. When the shutters are ready reinstall them using the plugs you removed earlier and your job is done.
Independent reader supportYour contribution helps us test, update, and keep practical guides available for everyone.Final Thoughts
As you can see, painting your vinyl shutters can be a fast and simple task, with most homeowners being able to complete the job in a single day. Just make sure that you are using the correct paint for the job and you will have everything you need to get started.

What’s actually slowing this PC down?
Pick the symptom - the matching free tool is one click away.
Jim Bettesworth well known for his can-do attitude and often takes jobs other companies were unwilling or unable to do. Experienced and educated in concrete construction and painting jobs. Read More.




