PC Slower Than It Used to Be?
A free scan shows the junk files, broken settings and background clutter dragging Windows down - then fixes them in one click.Free scan · Windows 10 & 11Crashes, No Sound, or Screen Glitches?
Random freezes, missing sound and display glitches usually trace back to one bad driver. Find and replace yours safely.Free scan · under a minuteQuick wins for a faster PC:
Clear out junk files and repair common Windows errorsFree Scan →Fix the driver behind crashes, sound loss and screen glitchesFind Drivers →ThatPainter is reader-supported. When you buy through links on our site, we may earn an affiliate commission. Learn More
A HVLP spray gun is a very useful painting tool. Not only can it save you time but it can also provide improved coverage as a greater amount of paint will stick to the surface and less overspray is created.
As an Amazon Associate I earn from qualifying purchases.
When you have completed your painting project you are then faced with the task of cleaning your spray gun. Although many do not find this a fun task, it is necessary to preserve the quality of your painting equipment.
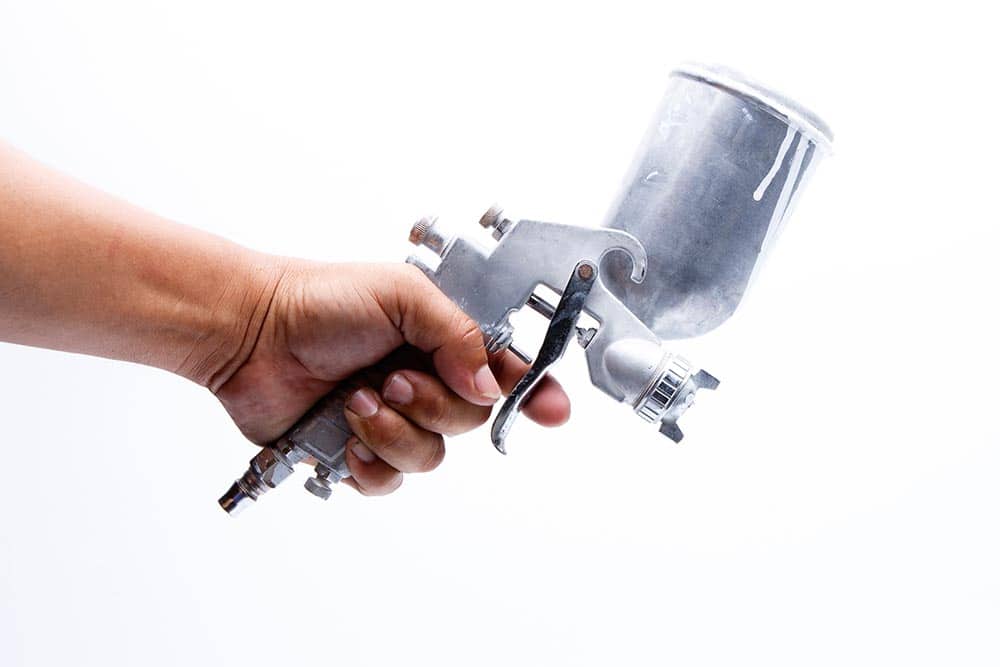
While it can appear tempting to delay the task, doing so can cause it to become clogged. When you go to use it again in the future you will likely notice a difference in the smoothness of the painting pattern and residue from the paint that was previously used may also be dispersed onto the walls surfaces.
#1 Best Overall

- ★ This handy spray guns cleaning kit is all you need to keep your spray guns clean and in excellent working condition!
- ★ The kit works with any thinners or solvents to clean away residuals and sludge from all guns types, including suction, gravity fed, high volume low pressure, detail, touch up, airless and compressor driven guns. Make short work of spray guns cleaning with this great kit!
- ★ Keeps spray guns in top working condition for better painting results.Great for cleaning thin tubes, nozzles, spray guns, tattoo equipment, airbrushes, etc.
- ★ 17 Piece Spray Paint Guns Cleaning Kit comes with everything you require to give your spray guns or air brush a thorough, deep clean.
- ★ Made from fine flexi wire, these brushes will get into all the cracks and creveses that store dirt, grime and contaminates, providing you with the ease to fully clean your spray guns.
Ideally, you should try and clean your HVLP gun as soon as possible once you have finished using it. Thoroughly cleaning your equipment will ensure that the build-up of paint is removed and this is a crucial step before contemplating using the spray gun again.
The process of cleaning your HVLP Spray gun isn’t overly complex and it is a task that can be completed with ease permitting that the correct steps are adhered to. Below, we have identified our top tips and steps we would advise you to follow to clean your HVLP Spray Gun.
Things To Know Before Cleaning Your HVLP Spray Gun
Although the process of cleaning an HVLP spray gun isn’t hugely challenging, bearing the following issues in mind will prove useful.
Be Careful When Disassembling The Spray Gun
Your spray gun will of course need to be disassembled to ensure that each element is deeply cleaned.
However, you must ensure that this is done correctly. Spray guns from different manufacturers will likely adopt different assembly and disassembly processes.
When you purchase your HVLP spray gun you will be provided with a user manual that will detail the different steps involved in the process. If you do not feel as if these instructions are clear enough, you may wish to utilize online resources such as google or youtube.
Attempting to disassemble your spray gun without prior knowledge will make it much harder than it needs to be. Of course, as mentioned, the design of each spray gun can differ slightly.
Free tools Windows power users keep installed
One-click scans. No signup required.
It is also important to ensure that care is taken when handling the components. Most will have delicate parts that are more susceptible to bending if handled incorrectly. If these parts happen to bend you will experience great difficulties when trying to put the gun back together again.
Rank #2

- COMPLETE KIT: Comprehensive cleaning set includes multiple spray bottles, cleaning brushes of various sizes, and specialized cleaning tools for thorough maintenance
- VERSATILE USE: Compatible with multiple spray tools including HVLP gravity feed guns, suction feed spray guns, and detail airbrushes
- PRECISION TOOLS: Features precision cleaning brushes and specialized implements designed to reach tight spaces and delicate components
- STORAGE SOLUTION: Includes multiple graduated bottles for storing cleaning solutions and solvents with clear measurement markings
- PROFESSIONAL DESIGN: Heavy-duty construction with durable brushes and robust cleaning implements for long-lasting performance
Keep All Of The Parts Safe
When disassembling your spray gun, many will often put the parts straight into the soapy water.
This isn’t going to be a problem so long as you have accounted for all of the individual parts (smaller components included) and you can guarantee that they aren’t going to become lost or damaged when submerged in the water.
Ideally, the larger parts should be separated from the smaller parts as this helps to eliminate any risk of loss or damage occurring. Of course, it is easier to keep track of the larger parts of the spray gun but this task becomes much more challenging when dealing with the smaller and more intricate pieces.
The Tool Desk
Outbyte Driver Updater FREEScan for outdated or missing drivers - takes under a minuteDriver Scan →Outbyte PC Repair FREEClear out junk files and repair common Windows errorsFree Scan →In the unfortunate instance that any parts happen to get lost or damaged you will experience difficulties when trying to put the gun back together and it will also be unsuitable for future uses.
Supplies Needed To Clean Your HVLP Spray Paint Gun
For an efficient cleaning experience, you will require the use of several supplies. Some you may already possess and others you may need to purchase.
- Water and Soap – of course, you will struggle to clean any painting equipment if you do not have soapy water on hand.
- Cleaning solution or paint thinner – as your confidence in cleaning your spray gun develops you may wish to opt for a heavy-duty variation of these products. If this is the case, you should ensure that you are dressed in the appropriate protective gear to ensure that you remain safe during the process.
- Gloves – these will be required to keep your hands clean and safe against the cleaning product and any sharp parts of the spray gun.
- Goggles – this piece of gear will be necessary for protecting your eyes from any contact with the cleaning solution that is utilized during the process.
- A wrench – this is needed to disassemble the fluid nozzle from the spray gun before cleaning. It will typically be supplied with the spray gun.
- Bristle Cleaning Brush – this can be used for removing any stubborn remnants of debris and paint. It can also help you reach and clean the intricate elements of the spray gun. Again, this is typically supplied with the spray gun.
- Toothpick – this helps get any bits of paint out of the grooves of the gun.
- Paper towel or rags – necessary for wiping down the components such as the needle and spring.
- Cleaning buckets/ cups – these will be required for holding the water and soaking the parts and also for waste disposal purposes.
It is important to remember the importance of wearing protective gear if you intend to use heavy-duty products to clean any painting equipment. Should these products come into contact with bare skin they can be rather damaging so it is important to avoid such a situation.
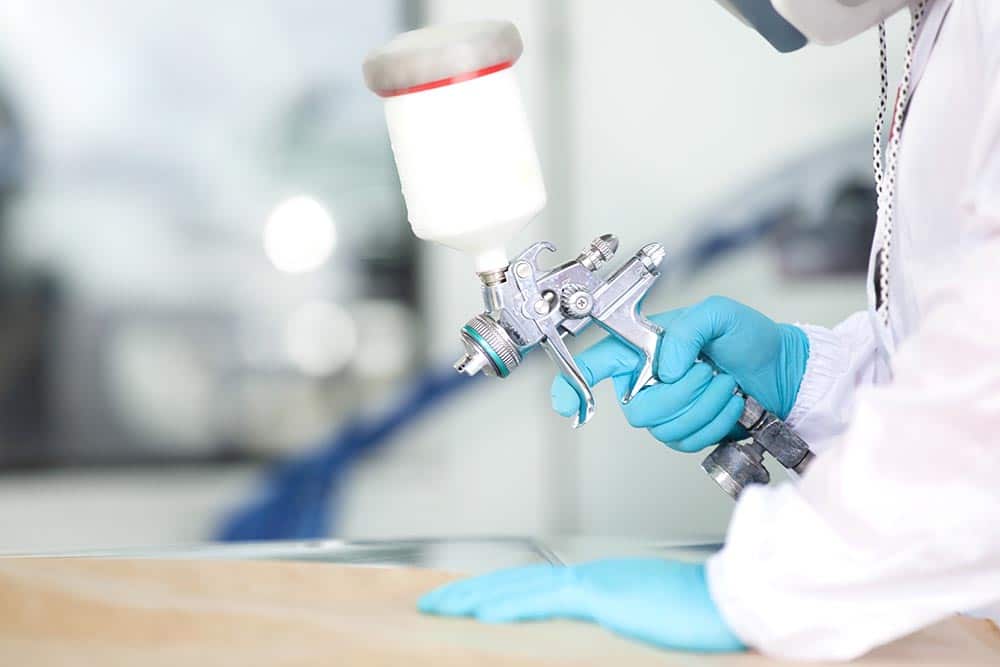
Now that you are aware of the cleaning equipment that you will require, you are likely wondering what steps are involved in the process. We have identified these in our guide below.
Step 1
First and foremost you will need to clean out the paint cup. This component is likely to hold the most fluid. Fill up this part using either a paint thinner or cleaning solution and then secure the cap before shaking it. Doing so will loosen the paint inside.
Rank #3
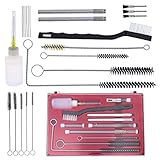
- Complete 23-Piece Cleaning Set: Professional spray gun cleaning kit and air brush cleaner kit, ideal for Spray Guns (HVLP, Gravity, Detail, etc.) and Airbrushes.
- Comprehensive Cleaning: Includes brushes and tools for every part of your spray guns and airbrushes
- Precision Cleaning Tools: 3 Mini end brushes, 6 micro needles, and 5 mini-brush sets for detailed cleaning.
- Versatile Tube Cleaning: 3 Flexible and firm brushes in various sizes for effective tube and passage cleaning.
- Organized Storage & Maintenance: Includes spray gun lubricant and a compartmentalized case for easy storage and upkeep.
Once you have shaken it you can then engage the paint gun trigger and allow it to disperse the product into a cup or bucket. Using a rag that has been soaked in the same thinner or cleaning solution you can then rub away any residue.
Ensure that you clean the bits of paint that are clinging to the body of the spray gun too. When completing this step, you must wear nitrile gloves to protect your skin from contact with the solvent.
Step 2
Now that the paint cap has been cleaned you will want to move onto the next stage which involves disassembling the body of the spray gun. You will need to be careful as this stage involves handling some of the more intricate components. Begin by unscrewing the air cap.
Do these 3 things before closing this tab:
1Scan for outdated or missing drivers - takes under a minute2Repair Windows errors before they cause bigger problems3Fix the driver behind crashes, sound loss and screen glitchesThen you can unscrew the needle. As most spray gun needles tend to be spring-loaded you will need to hold it correctly because it is otherwise likely to fly off.
Next, you will require the use of the wrench. Using this tool you can unscrew the inner internal section of the air cap. As the spray gun has now been disassembled, you can then progress onto the next step which involves cleaning each of the smaller parts.
Step 3
Multiple products can be used to clean the smaller parts of the spray gun. While some may choose to use a paint thinner, others may use a cleaning solution.
If you do not have any of these products on hand or you would simply prefer to, you can use soap and water. You must ensure that all of the smaller parts are accounted for to eliminate the possibility of loss or damage.
What’s actually slowing this PC down?
Pick the symptom - the matching free tool is one click away.
First, submerge the more substantial parts of the paint gun into the solution and allow them time to soak. Upon interaction with the water, the bits of paint will begin to loosen.
Rank #4
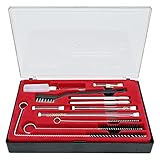
- The spray gun cleaning kit is used to clean up the residual paint of various spray guns to make the next painting more perfect.
- If you are a spray paint enthusiast, this is an essential tool for spray paint.
- The packaging layout of the paint gun cleaner kit is reasonable, and each cleaning tool has its place, Prevent loss.
- Cleaning brush set can also clean up pipelines, oil passages, and various narrow areas.
- 22 pcs spray gun maintenance kit Include: 1 pc long-handled angle brush, 1 pc long-handled straight fiber brush, 1 pc medium-sized fiber brush, 1 pc medium-sized wire brush, 5 pc fine fiber brushes, 2 pc hobby knife holders, 6 pc fine points, 1 pc plastic handled brush, 3 pc detail brushes, 1 pc bottle of cleaning solution(no oil).
Letting the components soak for a sufficient length of time will also make it easier to remove the paint from stubborn parts of the spray gun as they will have absorbed moisture that will encourage the paint particles to refrain from clinging to the paint gun’s surface.
Ideally, you should avoid submerging the needle and spring in the same water amongst the other larger parts. As touched upon multiple times previously, the size of these parts means that they are at greater risk of breaking or getting lost. Put these parts aside in a safe place as they can then be cleaned at a later stage.
Step 4
The larger parts of the spray gun will not require a huge amount of time to soak, a few minutes will suffice although you can leave them for up to half an hour if the spray gun is heavily soiled in paint. Once the parts appear cleaner, you can then remove them from the solution and wipe them.
If there still appears to be residue stuck to certain parts of the spray gun you can then use the bristle cleaning brush or toothpicks to remove it. The brush will allow you to apply additional elbow grease by scrubbing these parts thoroughly.
After doing so, if there still appears to be paint on the intricate parts of the spray gun you can then use the toothpicks to remove it. The combination of both tools will prove particularly helpful in ensuring that the spray gun appears as good as new and there aren’t any unwanted specks of paint remaining on any of the parts.
At this point, you can also clean the needle and the spring. Unlike the larger parts, we wouldn’t advise you to soak these directly in water at all, even when there aren’t any other parts in the bucket.
Instead, you should take a rag or power towel that has your chosen cleaning solution/ product applied to it. Thoroughly wipe down both components ensuring that all paint is removed. Doing it this way will ensure that all of the parts are handled safely and correctly.
Recommended Free Tools
Step 5
Now comes the final step in the process and this involves putting the gun back together again. This shouldn’t be too difficult but if you do require help to do so you can utilize the user manual provided with your spray gun, or online resources which will detail the stages involved in the process.
Best Value

- ★ This handy spray guns cleaning kit is all you need to keep your spray guns clean and in excellent working condition!
- ★ The kit works with any thinners or solvents to clean away residuals and sludge from all guns types, including suction, gravity fed, high volume low pressure, detail, touch up, airless and compressor driven guns. Make short work of spray guns cleaning with this great kit!
- ★ Keeps spray guns in top working condition for better painting results.Great for cleaning thin tubes, nozzles, spray guns, tattoo equipment, airbrushes, etc.
- ★ 17 Piece Spray Paint Guns Cleaning Kit comes with everything you require to give your spray guns or air brush a thorough, deep clean.
- ★ Made from fine flexi wire, these brushes will get into all the cracks and creveses that store dirt, grime and contaminates, providing you with the ease to fully clean your spray guns.
To begin the process of reassembling the spray gun you will first need to secure the needle and spring back in their allocated places. After doing so, you can then reattach the inner air cap followed by the outer air cap.
Finally, you will need to secure the paint cup onto the gun body and ensure that the paint cap for this part is put back on correctly. Now the process is completed and your paint gun is ready to use again.
Make sure that your HVLP spray gun has been correctly assembled before attempting to use it again in the future. If any of the parts have been put back incorrectly, you will likely notice deficiencies in the performance of the tool.
Do these 3 things before closing this tab:
1Fix the driver behind crashes, sound loss and screen glitches2Repair Windows errors before they cause bigger problems3Scan for outdated or missing drivers - takes under a minuteAdditional Care Tips
There are additional cleaning practices that you can adopt to achieve the best results. These are as follows.
Refrain from completely submerging the entire gun into the water, but only the parts. Completely soaking the entire spray gun can affect the functionality which can ultimately impact its efficiency and performance.
Debris that has become stuck in the smaller holes of the gun can be difficult to remove In this instance, you will likely benefit from using a smaller brush as this will make the task significantly easier.
If possible, you should try and avoid using a cleaning brush that has wire or metal bristles. This is because bristles of this kind can cause certain parts of the spray gun to become damaged.
Quick wins for a faster PC:
Scan for outdated or missing drivers - takes under a minuteDriver Scan →Clear out junk files and repair common Windows errorsFree Scan →Final Thoughts
As you can see, cleaning your HVLP spray gun isn’t a challenging task but one that does need to be done following the correct steps. Failing to clean your equipment after it has been used is going to affect how efficiently it performs.
Familiarizing yourself with the process beforehand is recommended as this will provide you with a greater amount of confidence when it comes to implementing each of the steps. Following the process detailed above will leave you with a spray gun that appears as good as new in no time.

Jim Bettesworth well known for his can-do attitude and often takes jobs other companies were unwilling or unable to do. Experienced and educated in concrete construction and painting jobs. Read More.
Quick Recap
Product prices and availability are accurate as of the date/time indicated and are subject to change. Any price and availability information displayed on Amazon at the time of purchase will apply.
The Tool Desk
Outbyte PC Repair FREEClear out junk files and repair common Windows errorsFree Scan →Outbyte Driver Updater FREEFix the driver behind crashes, sound loss and screen glitchesFind Drivers →



