ThatPainter is reader-supported. When you buy through links on our site, we may earn an affiliate commission. Learn More
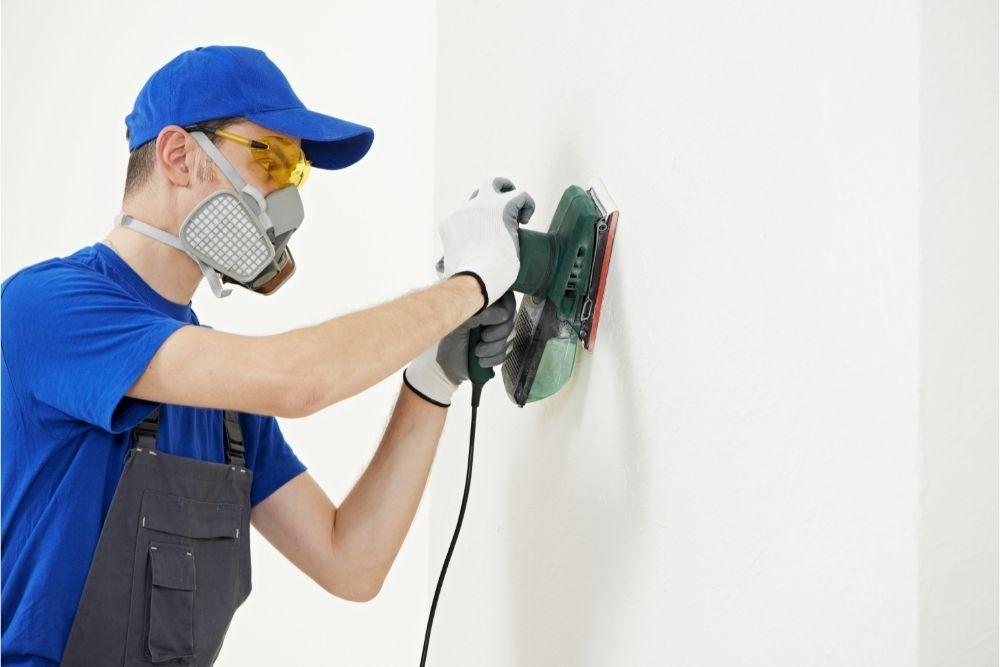
We know that prepping wooden furniture before painting can be a painstakingly boring and awkward process that takes up way too much time and effort. But, a lot of the time this dreaded step can be the difference between a gorgeous, even and professional looking finish and an uneven, bumpy, peeling mess.
As an Amazon Associate I earn from qualifying purchases.
So, why do we need to sand before painting? Well, sanding wood before painting helps to smoothen its texture and polish any impurities in its appearance. Sanding also opens up the material which makes it easier for the paint to bond with the wood.
Crashes, No Sound, or Screen Glitches?
Random freezes, missing sound and display glitches usually trace back to one bad driver. Find and replace yours safely.Free scan · under a minuteWindows Errors? Fix Them Before They Spread
Repair common Windows errors and clear accumulated junk for a smoother, more stable PC - no reinstall needed.Free scan · no reinstallThe result being a paint job that can last years without peeling away or looking messy.
#1 Best Overall

- Assorted Grit Sanding Blocks – This set includes 4 sponge sanding blocks (4 x 2.6 x 0.7 inches) in 120, 220, 320, and 400 grits, covering coarse to ultra-fine sanding needs. Color-coded for easy identification.
- High-Quality & Durable Material – Made from high-density sponge, these sanding blocks are flexible, tear-resistant, and long-lasting. The abrasive particles stay firmly bonded, preventing shedding during use.
- Versatile for Multiple Surfaces – Ideal for woodworking, furniture polishing, metal dusting, drywall, primer smoothing, and wood filler finishing. Perfect for DIY projects and professional refinishing.
- Washable & Reusable – Can be used wet or dry for enhanced polishing. Wet sanding minimizes dust, while dry sanding ensures quick material removal. Easy to clean and reuse for extended durability.
- 4-Sided Abrasive Design – Sanding surfaces on all four sides maximize efficiency and lifespan, reducing replacement costs and improving productivity.
You can do this by simply using a rough sponge and mineral spirits to lightly rough up the wood, so it takes the paint better while cleaning the surface to make sure there’s no dust or loose bumps that will ruin the finish.
Do I need to sand before repainting?
Repainting on top of surfaces that have already been painted can be a tricky job and people often worry if they need to sand first or not. This really depends on the condition the surface is in before you start.
If your cabinets are old and peeling previously painted with a gloss or especially a high-gloss paint, you really should sand them, at least lightly in order to allow the new paint to properly bond to the wood.
What’s actually slowing this PC down?
Pick the symptom - the matching free tool is one click away.
The level of sanding it needs will also depend on the type of paint. So, if you’re painting over an oil-based paint, you should use a medium-grit sandpaper whereas if you’re painting over a water-based paint, you can sand it easily with just a fine-grit sandpaper.
Rank #2

- 【ASSORTED GRIT SANDING BLOCKS】 8 sand blocks, 4 sizes from coarse to ultra-fine sand, 60/80/120/220 grit, 2 blocks for each grit. There are four different colors, grey (corresponding to grit size - 220), blue (120), green (80), and orange (60), with different numbers of grains for different colors.
- 【HIGH-QUALITY MATERIALS】These sanding sponges are made of high-density sponge, flexible, tear-resistant, and very durable. sanding block sand will not come off.
- 【VERSATILE APPLICATION】The different sanding blocks can be used for different abrasive projects in woodworking, furniture polishing, metal dusting, primer polishing, drywall, wood filler, and other finishes.
- 【WASHABLE and REUSABLE SANDPAPER BLOCK】This sanding sponge can be used wet or dry, these drywall sanding blocks are very versatile. sanding blocks can be used straight away or applied wet to the surface of an object for polishing, the sanding sponges both provide excellent polishing power while reducing the need for frequent cleaning, ultimately increasing your productivity.
- 【PROFESSIONAL SERVICES】We are confident in offering a 100% Satisfaction Guarantee as we are confident that you will be satisfied with our sand block. We always strive to create a higher quality abrasive product line that offers superior abrasive performance, if there are any questions about this product, please feel free to contact us and we will resolve them for you within 24 hours!
Some people even like to sand after primer and even sand between paint coats for optimum coverage. But, this is obviously not the most time-efficient method and will of course be messy.
So, is there a way that you can avoid sanding altogether? Fortunately, yes. If the previous paint is in a fine condition, you can simply apply a coat of primer before painting to ensure the fresh paint sticks properly.
This may also mean you won’t need to apply a second coat of paint, saving you on time and money!
It’s worth noting that if you’re planning on repainting wooden furniture you won’t need to strip the material down to the bare wood by sanding. You may need to strip the glossy finish though if the previous paint is a gloss.
Rank #3

- Assortment Pack: This sanding sponge set includes 24 pieces with grits 80/120/180/240/320/400/500-600/800-1000/1200-1500/2000/2500/3000,each of 2, covering coarse material removal (80 grit) to ultra-fine polishing (3000 grit). Perfect for wood furniture refinishing, auto bodywork, and delicate surface prep—all in one convenient kit, each measuring 3.93 x 2.75 x 0.19 inches
- Durable & Comfortable Design: Made with a soft sponge buffering layer, these sanding blocks absorb vibrations, reduce hand fatigue, and provide a secure grip. The high-quality abrasive material ensures long-lasting use without tearing.
- Wet & Dry Use: Designed for both wet sanding paper (reduces dust, extends lifespan) and dry sanding (quick material removal). Perfect for automotive refinishing, wood furniture refinishing, and DIY projects.
- Ergonomic & Contours Easily: The sanding block shape fits comfortably in hand, while the flexible foam adapts to curves and tight corners, ensuring even sanding on flat or irregular surfaces.
- Wide Professional & DIY Applications: Whether you're polishing drywall, smoothing wood furniture, or prepping metal/auto surfaces, these sanding sponges are essential for craftsmen, carpenters, and home renovators.
However, if you plan to stain wooden furniture that is currently painted, you will need to sand it back down to the bare wood.
What happens if you don’t sand before painting?
The reason we’re so often told to sand wooden furniture before painting is because sanding helps to open up the wood, making it more susceptible to sticking to the fresh paint.
Sanding also removes any bumps and impurities from the wood which would make it look uneven and messy.
If you don’t sand before painting you will likely end up with an uneven finish and a paint job that will likely end up peeling after a few months.
Rank #4

- 6 Pack 220 Grit Superfine Sanding Sponge, Washable and Reusable Sanding Blocks
- Washable and reusable, can be used wet or dry,and also can be used directly in water.Because of its own water storage function, it can reduce flushing and improve work efficiency.
- Planting sand on four sides can effectively improve the service life and reduce the cost.Use on wood, paint, metal, plastic or drywall.
- Using high density sponges as base material, the resilience is excellent, plasticity is strong, and it is not easy to tear.
- The Sanding Sponges are portable and handy, and suitable for polishing flat and irregular surfaces.
You may also be able to see any lighter or darker patches of the book come through the paint which looks ugly and unprofessional.
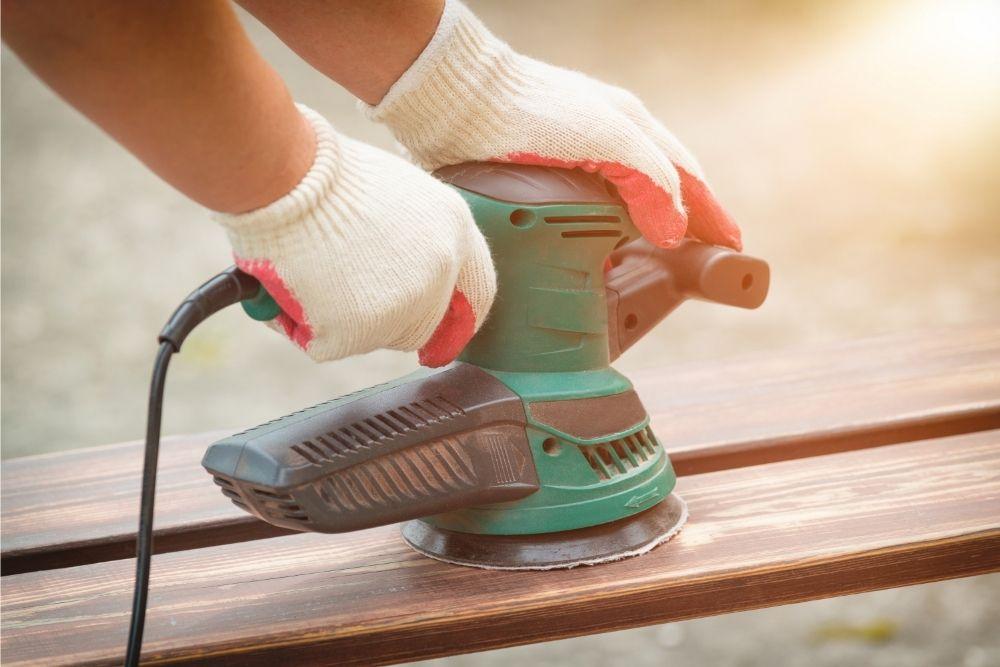
How to sand before painting?
Sanding done properly won’t actually take as much time and effort as you may think. Some projects could be done within minutes. You don’t actually need to remove every single bit of old paint or stain.
When it comes to sanding furniture or walls or anything really, you can either use an electric sander, or a palm sander (or just sandpaper in your hand).
Outdated Drivers Are Slowing You Down
One free scan finds every outdated or missing driver and matches the right update for your exact hardware.Free scan · exact hardware matchWindows Errors? Fix Them Before They Spread
Repair common Windows errors and clear accumulated junk for a smoother, more stable PC - no reinstall needed.Free scan · no reinstallYou may not being able to use an electric sander in more detailed, angular areas but that’s where plain old sandpaper comes to the rescue.
Best Value

- IDEAL FOR MODERATE SANDING AND SMOOTHING of joint compounds
- FLEXIBLE SPONGE can be used to sand flat or contoured surfaces
- DUAL GRIT - Medium Grit to remove, fine grit to smooth
- Conforms for easy use
- Rinse and resuse for longer life
For faster results, invest in an electric sander, they’re not super expensive, and they will save you so much time and energy.
So, how do you sand before painting? Well first things first you need to prepare your work station. You will need either an electric sander or sandpaper/sanding pads or both. You may also need wood filler if you’re dealing with a wood surface that has holes or dents in it.
It’s also important to take the necessary safety precautions as sanding can be messy, and you don’t want to be breathing in dust and debris, so we recommend wearing a mask and safety glasses to protect your eyes.
Recommended Free Tools
- Step 1: if your project involves a wood surface with holes or dents, you will need to remedy these issues first. So, you need to fill them in using a wood filler, so the surface is level all over. You’ll need to leave this dry for up to 48 hours
- Step 2: once that’s fully dry you’re ready to sand. Whether you’re using an electric sander or sanding pads, make sure you’re wearing a mask and glasses throughout the whole process. Start off using the roughest sandpaper (lower numbers = rougher paper). You want to use a circular motion over the entire surface to smoothen the wood filler as well as any imperfections
- Step 3: go in with a lighter sandpaper and go over everything a second time
- Step 4: wipe down the surface using a damp cloth to remove any dust particles and you’re ready to go!

Jim Bettesworth well known for his can-do attitude and often takes jobs other companies were unwilling or unable to do. Experienced and educated in concrete construction and painting jobs. Read More.

