Free tools Windows power users keep installed
One-click scans. No signup required.
ThatPainter is reader-supported. When you buy through links on our site, we may earn an affiliate commission. Learn More
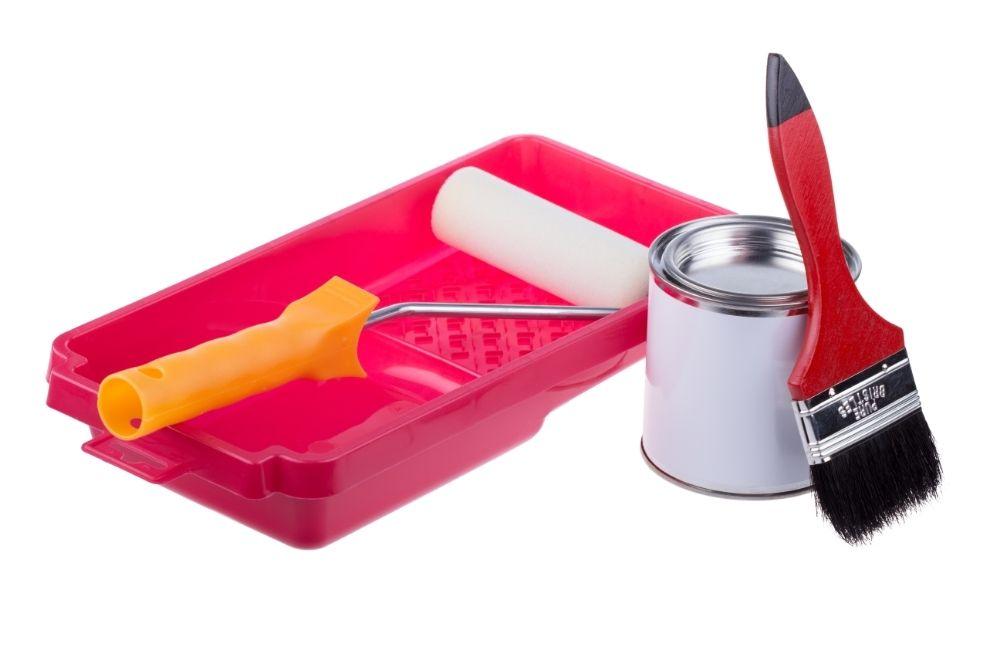
Polyurethane is everywhere. It’s in your sofas, your refrigerators, your skateboard wheels, and everything in between. It comes in lots of different densities and is present in a lot of materials.
As an Amazon Associate I earn from qualifying purchases.
Often, polyurethane is used as a clear coating on other material to provide protection from scuffing.
The Tool Desk
Outbyte PC Repair FREEClear out junk files and repair common Windows errorsFree Scan →Outbyte Driver Updater FREEScan for outdated or missing drivers - takes under a minuteDriver Scan →The odds are at some point you’ll want to paint something made from or treated with polyurethane, whether it’s the sealant around your windows, your kitchen cabinets, or the wheel of your wheelbarrow. However, you can’t just dive in with standard household paint.
#1 Best Overall
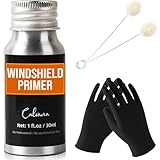
- Perfect for Windshield Replacement: This windshield primer is designed for easy windshield replacements, enhancing the adhesion of urethane adhesives to automotive glass surfaces. It includes two daubers and a pair of gloves for convenient installation
- Exceptional UV Protection: This urethane primer has good UV resistance, protecting the polyurethane and extending the durability of windshield installations. It can also serve as a blackout primer to shield against UV damage and deterioration
- Fast-Drying Formula: This single-component primer dries rapidly without the need for an activator. Ideal for use with the provided urethane primer daubers, it cures within just 10 minutes
- Corrosion Prevention for Pinchwelds: Beyond its use in auto glass, this automotive primer effectively addresses minor scratches on pinchwelds to prevent corrosion. It is also suitable for priming encapsulated glass and other PVC components
- Windshield & Glass Repair Tools Kit: Perfectly compatible with our polyurethane adhesive kit, it includes 1 automotive primer sealer 1fl.oz/30ml, 1 pair nitrile gloves, 2 applicator sticks that are 5.9 inches long, making it perfect for both car repair professionals and DIY enthusiasts, ensuring reliable performance across various applications
Polyurethane has to be primed before it can be painted. Once primed, you can use any kind of paint because the paint is adhering to the primer and not the polyurethane. This means that you can use acrylic, latex, emulsion, water, or oil-based paints.
Priming the polyurethane surface can be time consuming, but it is vital to the success of the project. There’s no getting around this step because polyurethane just doesn’t work well with paint.
To prime, you’ll first need to clean the surface thoroughly. For greasy or oily areas like kitchen cabinets, make sure to use mineral spirits to clean the surface.
The Tool Desk
Outbyte Driver Updater FREEFix the driver behind crashes, sound loss and screen glitchesFind Drivers →Outbyte PC Repair FREEClear out junk files and repair common Windows errorsFree Scan →Once clean, you’ll need fine grit sandpaper. Work your way across the surface removing as much of the polyurethane as possible.
The next step is the primer. You’ll need an oil-based or shellac-based primer. When looking for a primer, be careful what you search for. Searching for ‘polyurethane primers’ will show you primers made from polyurethane resin.
Apply the primer according to the manufacturer’s instructions and leave to dry completely. Getting a good primer coat is essential. This will be what the paint adheres to so the primer needs to be well bonded and even.
Can You Paint Over Polyurethane Without Sanding?
Yes and no, but mostly no.
Sanding is an important part of the preparation step. The whole point of sanding polyurethane is to remove as much as possible. This allows the primer to bond with and adhere to the surface beneath the polyurethane.
What’s actually slowing this PC down?
Pick the symptom - the matching free tool is one click away.
Rank #2
- Exterior/interior use, great for galvanized steel, wrought iron, railings, furniture, laminate, PVC, porcelain, masonry, glazed brick and more
- Low odor, low VOC water-based formula has excellent wet adhesion in moist or humid environments
- Dries to the touch in 30 minutes and covers up to 10-12 sq. ft.
- Prevents rust and corrosion for enhanced durability
- White finish creates a strong bond to prepare surface for any topcoat
It’s important to note that you’re not ‘keying’ like you do for varnish or gloss paint. This process, more correctly called abrading, is gentler than sanding. This is because you’re not trying to remove the paint or varnish. Instead, you’re just trying to rough it up. This creates a key that the new paint can stick to.
Sanding is an arduous and time-consuming task, but you can speed it up in a couple of ways.
Firstly, try using a power sander. This shaves hours off the time and saves your fingers and hands from being eaten up by sandpaper.
You’ll need to be careful when choosing a power sander as some are too powerful. If, for instance, you take a belt sander to that delicate side cabinet, you’ll find that it removes much more than the polyurethane!
The best sanders to use are detail sanders, orbital sanders, or a disk sander. You can also use a power drill with a sander attachment.
These are gentle enough not to gouge the surface but powerful enough to speed up the process.
For concave shapes or holes, use a sanding drum attachment for your drill. These are essentially barrels covered in sandpaper that can fit into small and awkward spaces. They are particularly useful for sanding banisters and handles.
Rank #3
- Premium-quality, acrylic-urethane bonding primer-sealer with unparalleled adhesion to the most challenging surfaces, including glossy tile, PVC, vinyl, plastic, glass, glazed block, glossy paint, pre-coated siding, fiberglass, and galvanized metals.
- Bonding primer for drywall, plaster, ceiling, acoustical tile, wood trim and doors, Formica, ceramic tiles, glossy surfaces, PVC plastic, masonry walls, wood, trim, shutters, masonry, stucco, concrete, cement block, galvanized metal, aluminum, and other challenging surfaces.
- Bonds to "hard-to-coat" surfaces and can be top coated with almost any product.
- Fully cures in temperatures as low as 35 °F.
- 75 - 100 square foot coverage for interior or exterior use
During the sanding, whether you use a power sander or a sanding block, it is important to wipe down the surface. This will remove the dust and let you see which areas still need sanding.
Outdated Drivers Are Slowing You Down
One free scan finds every outdated or missing driver and matches the right update for your exact hardware.Free scan · exact hardware matchWindows Errors? Fix Them Before They Spread
Repair common Windows errors and clear accumulated junk for a smoother, more stable PC - no reinstall needed.Free scan · no reinstallYou might want to dampen the cloth before you wipe the surface down. A damp cloth will collect dust while a dry cloth will usually just move the dust around.
When you begin sanding, it is best to use a fairly rough grit paper. This will move a lot of material quickly, but it leaves you with a rough finish. That’s why it’s important to follow up with successively finer grits.
You want to start with a coarse grit somewhere between 60 and 80 before finishing up with 100 – 150 grit. At the end of the sanding process, you want to be left with smooth wood where you can’t feel the sandpaper gouges.
If you are really opposed to sanding, and let’s face it who isn’t? You could use liquid sandpaper. This stuff is more properly called deglosser, and it is a chemical compound that strips gloss, varnishes, and polyurethane.
Deglosser is applied with a cloth or rag, it can also be dripped or poured into hard-to-reach areas. Once applied, it works within 15 – 30 minutes.
Deglosser is fairly cheap but as a chemical compound it is fairly high in VOC. These are the gases that are given off by chemicals. To avoid harmful effects from VOC, you have to make sure you have ventilation.
Rank #4
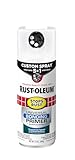
- Exterior interior use, it firmly bonds topcoat to any surface like galvanized steel, wrought iron, railings, furniture, laminate, porcelain, masonry, glazed brick and more
- Durable, corrosion-resistant
- Covers up to 12 sq. ft.
- Maximum adhesion white primer
- Custom spray 5-in-1 has a large finger pad to reduce finger fatigue and offers 360° any-angle spray technology
You can buy low VOC deglosser, but these tend to be more expensive.

What Happens If You Paint Over Polyurethane?
Painting over polyurethane isn’t the end of the world, in that there won’t be a massive chemical reaction that destroys your furniture.
What will happen is you’ll end up repainting the whole project.
The issue with painting over polyurethane is that paint won’t adhere to the polyurethane. This is why it needs to be removed before you paint.
When you try to put paint onto polyurethane, you’ll notice that it is more difficult to get an even coat.
When the paint dries it will be prone to peeling, bubbling, and flaking. Again, this is because the paint can’t stick to the polyurethane and so air can get under the paint and cause gaps and bubbles.
Paint on top of polyurethane is also really easy to scrape off. You’ll notice that you can scratch it off with a fingernail. Obviously, this is not ideal or appropriate for furniture or flooring unless you are going for an incredibly distressed look.
Sanding and priming might be time-consuming and annoying, but it’s worth the effort if it means you don’t have to repaint the whole project.
Quick Recap

Product prices and availability are accurate as of the date/time indicated and are subject to change. Any price and availability information displayed on Amazon at the time of purchase will apply.

