Recommended Free Tools
ThatPainter is reader-supported. When you buy through links on our site, we may earn an affiliate commission. Learn More
Getting spray paint on the wheels of your car, whether on purpose when you decided to spray them all a funky color, or accidentally when you spilled some on there after touching up another part of your car may eventually result in you having to remove said spray paint.
As an Amazon Associate I earn from qualifying purchases.
Of course, if you have purposely sprayed them a certain color, ideally you will want to keep it that way forever, however, we are only human and our minds change constantly, which may result in you wanting to remove it and revert to the original wheel.
What’s actually slowing this PC down?
Pick the symptom - the matching free tool is one click away.
If spray paint accidentally runs onto your wheels as a result of you touching up another part of your car this can be even more annoying, especially if it is a bright color.
#1 Best Overall
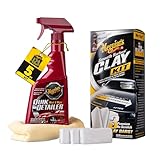
- QUICK CAR CLAYING: Quickly and easily removes bonded surface contaminants like paint overspray, industrial fallout, tree sap mist, road tar and more
- GLASSY, SMOOTH FINISH: After using clay, wipe with Supreme Shine Microfiber Towel to restore a smooth, glassy finish
- BETTER WAX PROTECTION: Wax glides on easily and provides longer-lasting protection after claying
- SAFE TO USE: Non-abrasive clay bar works safely on any paint finish including clear coats
- COMPLETE CLAY KIT: Includes three 60 gram premium clay bars, 16 oz Quik Detailer Mist & Wipe, and a Supreme Shine Microfiber Towel
Both of these situations will mean that you want quick and easy spray paint removal. Luckily for you, that’s where we come in.
In this article, we have prepared a detailed step-by-step guide on how to remove spray paint from your wheels and have them looking brand-spanking new and shiny in no time.
Things to Consider
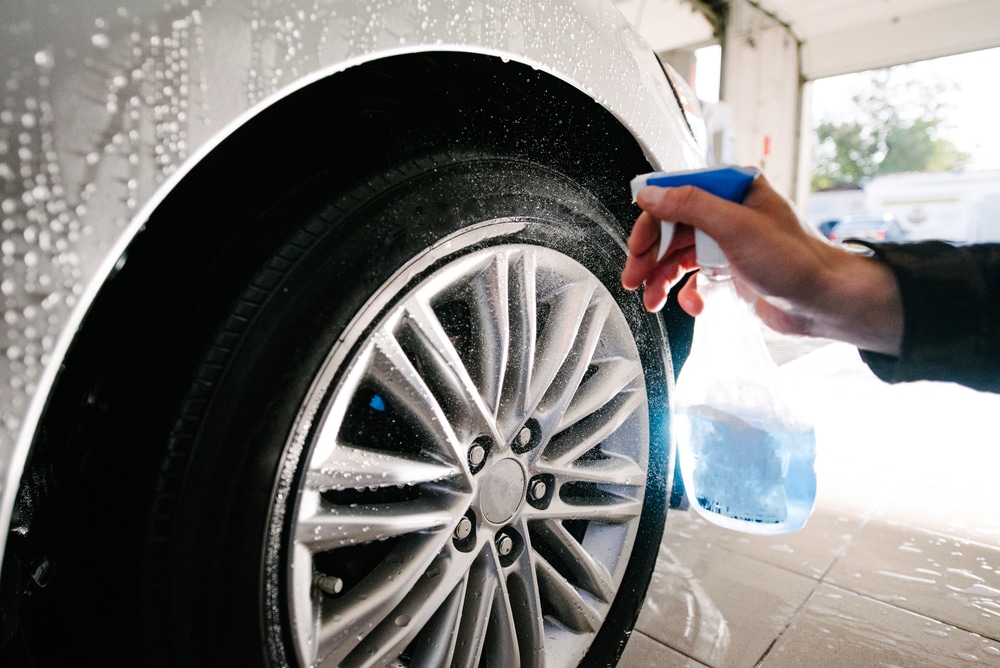
Removing spray paint is generally a simple job and can be done with the help of a stripper or paint remover. However, the tricky part comes in when you realize that these abrasive strippers can actually cause damage to your wheels, causing them to wear down.
This presents something of a catch-22 for car owners who want to remove the well-bonded paint from their wheels but do not want to be left with wheels that look damaged and worn. As well as this, removal methods may also cause damage to the tires themselves and the wheels underneath.
Our guide has been formulated to do the best job possible with as little damage as possible. This does mean that the method requires a little bit of elbow grease from yourself, but we promise that the results will be worth it and will save you a load of money as you will not need to get new tires!
Always remember to follow the guidelines on your chosen method of paint removal (whether they be paint thinner or stripper) and ensure that it is suitable for your wheels and tires before using.
What tools and supplies do I need?
Sadly, you cannot just use soap and water to remove spray paint from your wheels it will not just rub off easily. Instead, you need a very specific set of tools that will all work in tandem to get the spray paint off of the affected areas as quickly as possible.
In this section, we will be detailing exactly what you need to remove the spray paint, and exactly why you need these things. Read this carefully and ensure you have everything before you start out, because trust us, you’ll need it all!
- Old towels or rags (ensure they are clean) – you need these as a way of removing the remover liquid and any excess paint after the removal process is complete. Things may get messy and you will be glad of some old towels or rags to help clean up.
- An old, clean toothbrush (or a new one that you buy specifically for this) – the toothbrush, as weird as it sounds, will help you remove paint and debris from smaller, hard to reach areas.
- Paint stripper – Whilst this can be very abrasive and damaging to your car when used in small amounts as we direct you it can be very useful. It allows you to cut through the spray paint and remove it quickly
- Water – water is an integral part of the paint removal process and as such you will need quite a bit of it. You will use it for degreasing, cleaning the area before removal, and cleaning up the area after removal. If you choose to repaint it afterward then you will need water for that, too.
- Sandpaper – Now, don’t panic, we’re not going to ask you to sand the whole wheel off! This will be used gently and sparingly to buff the surface on which the paint lies, thus making it easier to remove and requiring less paint stripper. Keep in mind that you will not need this if your wheels are aluminum.
Or alternatively….
- Drill and brush attachment – you can use a drill with a brush attachment in place of sandpaper if you wish. Of course, these are harder to come by than sandpaper and far more expensive. However, professionals among us may well prefer this as it can be more precise. It can also buff the surface more quickly and remove a little more than plain old sandpaper. That being said, it is far easier to buff too much with this method, so choose wisely. Likewise, this will not be needed for aluminum wheels.
- Your usual toolkit – Lastly, you will need a basic toolkit full of mechanical and manual tools is essential in most households. You won’t need anything fancy by any means but just keep what you do have to hand
Alloy Wheels Versus Aluminum Wheels
Depending on whether your wheels are made from alloy or aluminum you may have to use slightly different spray paint removal methods.
In order to ensure you know exactly how to go about the removal process for both types of wheels, we have decided to give you a step-by-step guide for both.
Rank #2

- Removes Embedded Surface Contaminants: Safely lifts paint overspray, industrial fallout, brake dust, tree sap, acid rain and bonded debris
- Restores Smoothness & Brilliance: Leaves paint, chrome, glass, and smooth plastics slick, clean and revitalized
- Complete Clay Bar System: Includes three 80-gram clay bars, 16 oz. Instant Detailer lubricant and a microfiber towel
- Improves Wax & Polish Results: Creates a contaminant-free surface that enhances gloss, durability and bonding of waxes and sealants
- Safe & Effective Paint Decontamination: Designed to stop long-term damage caused by embedded contaminants without harming finishes
It is, therefore, essential that you work out what your wheels are made from before beginning the paint removal process. This will ensure that you use the right process of removal for your wheels and will limit and prevent any unnecessary damage that may occur.
Free tools Windows power users keep installed
One-click scans. No signup required.
First, we will look at the removal method of spray paint from alloy wheels.
Removing Spray Paint from Alloy Wheels
Step 1 – Take Off the Wheels
Now, this step is not essential but it would make your life so much easier and is also safer. We highly recommend that you remove the wheels that need the paint removal process.
You can do this one by one if you wish, or alternatively, you can get them off all at once. This will ensure that you do not damage the body of the car in any way.
Step 2 – Clean Up the Surface
In this step, you will be focusing on ridding the wheels of any dirt and debris present. Wheels on cars get filled with tiny particles of rocks and stones, trash, dirt, mud, and gravel.
You need to ensure all this is off before applying any substance intended for getting paint off. Wipe it off with some water and a rag. If you wish you can use car shampoo for this step but this is not essential.
Step 3 – Spray on Your Paint Stripper
As soon as you have ensured that the wheel is free of any dirt and debris you can freely spray on a small amount of your chosen paint stripper.
It is very important that you apply paint stripper only on those areas where there is paint that needs removing. Putting it on a non-painted area could cause damage.
You should leave the stripper on the paint for as short an amount of time as possible, ensuring it is not left on for longer than 15 minutes. You will see the paint begin to bubble after this time.
PC Slower Than It Used to Be?
A free scan shows the junk files, broken settings and background clutter dragging Windows down - then fixes them in one click.Free scan · Windows 10 & 11Outdated Drivers Are Slowing You Down
One free scan finds every outdated or missing driver and matches the right update for your exact hardware.Free scan · exact hardware matchIf the paint bubbles before 15 minutes are up then that is fine, you can just take move onto the next step to remove the paint.
Rank #3

- 【All-in-One Premium Kit】The TEAWOO Car Clay Bars Kit is a comprehensive car care solution. It comes with 2 large 100g clay bars and 4 smaller 50g ones, providing enough for multiple detailing jobs. There are 20 effervescent tablets for making lubricant, a spray bottle for easy application, 10 black disposable gloves for a clean grip, and 3 absorbent towels. Ideal for both beginners and pros, it's a must - have addition to any car wash kit.
- 【Gentle yet Effective Cleaning】Crafted from premium ultra - fine fiber and refined clay, our clay bars are tough on contaminants like oxidation, iron powder, and tree sap. But they're gentle on your car's paint, ensuring no scratches during the cleaning process. Perfect for pre-wax or pre-polish prep, they restore your car's smooth and shiny finish.
- 【Versatile Application】This kit isn't just for car paint. Use it on clear coatings, windshields, metal parts, carbon fiber, and more. It's also great for motorcycles and furniture. Whether you're cleaning your daily driver or your beloved bike, the TEAWOO Clay Bars Kit offers broad - spectrum cleaning capabilities.
- 【Smooth Cleaning with Quality Lubricant】The included 20 effervescent tablets make high - quality clay bar lubricant. Simply dissolve in the spray bottle. The lubricant creates a slippery surface, allowing the clay bar to glide smoothly. This not only prevents scratches but also extends the clay bar's lifespan.
- 【User-Friendly and Convenient】Designed for ease of use, making the lubricant is a breeze. The 10 black disposable gloves offer a clean and secure grip. The 3 soft towels are perfect for drying. Whether new to car detailing or an expert, this kit provides a hassle - free way to keep your vehicle looking its best.
Step 4 – Wipe the Paint Off the Wheel
After 15 minutes (or when the paint has started to bubble) you can then take off the paint and remover. To do this you will need the old clean towels or rags that we recommended at the start.
These can be used to simply wipe the surface on which the paint lies. The paint should easily budge. Any leftover dried patches of paint should also lift off quite easily.
If, for any reason, you have had to place the remover on the tires, ensure you remove this first, leaving it on for no longer than 15 minutes (even less if you can!). Stripper can damage tires very quickly if left on for too long.
If you have smaller harder to reach areas you can use the toothbrush we recommended to work into corners and crevices. This may require more detail and concentration to make sure you get all of the remover off. As tedious as it is it is vital that no paint remover or stripper is left on any part of the wheel.
Step 5 – Clean with Water
When you have removed as much of the residual paint as possible you will now need to go in with another clean towel or rag and your water. Ensure the water is fresh and clean. Rinse away any leftover dried paint and remover.
If you are experienced in using one, a pressure washer may also work well at this point. Do not use one if you never have before as improper use can actually damage the car and the paint job.
However, if you use them often feel free to use them on a low setting for the purpose of getting rid of any stubborn areas of paint.
Free tools Windows power users keep installed
One-click scans. No signup required.
If you still have stubborn dried-in paint but do not have a pressure washer to hand you can repeat the process above again, using small amounts of paint remover or stripper and leaving it on for around 5 to 10 minutes.
Step 6 – Buff, Buff, and Buff Again!
This is where your sandpaper or drill and brush come in! When you are satisfied that all of the paint and debris has been removed and the wheels are clean again you can go in with your buffing method of choice and gently bring the wheels to a polished finish.
The sandpaper will take much longer, however, it is recommended if you have to get into tight crevices. Also, it is easier and cheaper to procure than a drill with a brush head.
Rank #4

- CLAY - The clay bar works by grabbing onto any contamination that sticks onto the surface of your vehicle, then pulls it out as you rub the clay across the paintwork, restoring a smooth-to-the-touch surface primed for polishing, or a pristine coat of wax or sealant.
- WAX - Butter Wet Wax is a smooth, liquid creme wax that melts into the paint like butter for easy on/off application to give you the deepest, wettest look imaginable in a matter of minutes.
- THE GO TO BRAND IN CAR CARE - Beginners & professionals alike choose Chemical Guys, for the finest car care products, world class customer support and vast detailing knowledge; Chemical Guys is more than a brand it's a lifestyle with a worldwide following
Please keep in mind that, if you have aluminum wheels, you should not follow this step! Move onto the next section to find out how to remove paint from aluminum wheels and the alternative to buffing.
Quick wins for a faster PC:
Scan for outdated or missing drivers - takes under a minuteDriver Scan →Clear out junk files and repair common Windows errorsFree Scan →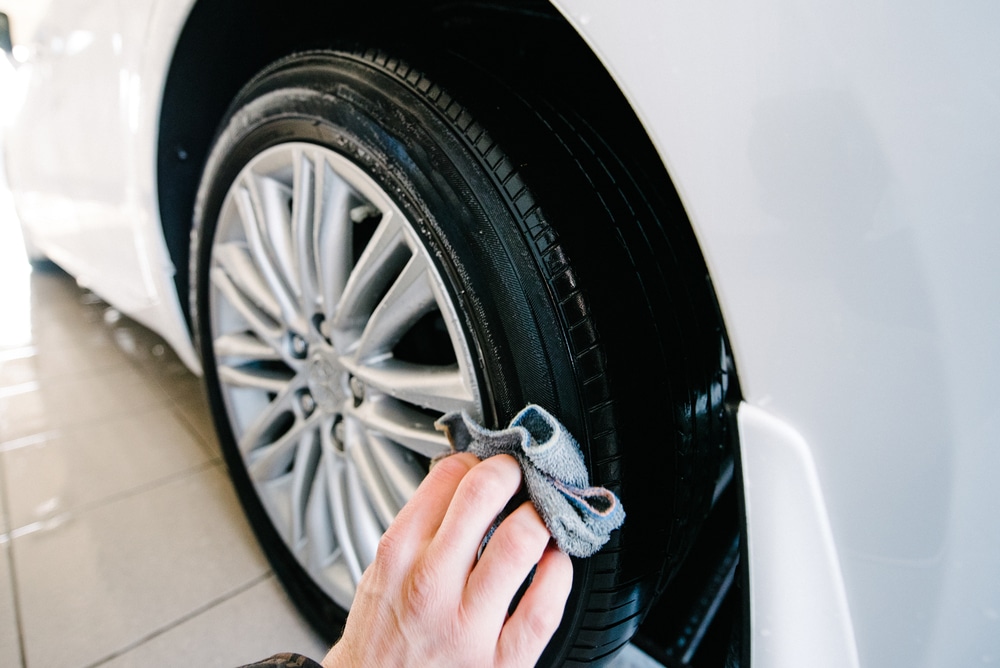
Removing Spray Paint from Aluminum Wheels
Removing spray paint from aluminum wheels is not much different from removing spray paint from alloy wheels. The only real difference comes in the final step.
Unlike alloy, aluminum cannot be buffed with sandpaper or a drill and brush. Instead, you need to use a slightly different method to get it looking polished and removing any stubborn dried-in paint.
As you can see below, the removal process is identical, save for that last step.
Step 1 – Take Off the Wheels
Now, this step is not essential but it would make your life so much easier and is also safer. We highly recommend that you remove the wheels that need the paint removal process.
You can do this one by one if you wish, or alternatively, you can get them off all at once. This will ensure that you do not damage the body of the car in any way.
Step 2 – Clean Up the Surface
Remove dirt and debris by wiping it off with some water and a rag. If you wish you can use car shampoo for this step but this is not essential.
Step 3 – Spray on Your Paint Stripper
Spray on a small amount of your chosen paint stripper. It is very important that you apply paint stripper only on those areas where there is paint that needs removing.
Putting it on a non-painted area could cause damage. Leave it on for 15 minutes or until it starts to bubble. If the paint bubbles before 15 minutes are up then you can just move onto the next step.
Step 4 – Wipe the Paint Off the Wheel
Use the old clean towels or rags that we recommended at the start. These can be used to simply wipe the surface on which the paint lies. The paint should easily budge.
Best Value
- COMPLETE CLAY SYSTEM (CLY700) – All-in-one kit includes car clay bar, lubricant, applicator, towel, and accessories to deep clean paint for a smooth-as-glass finish
- REMOVES EMBEDDED DIRT – Detailing clay bar lifts overspray, brake dust, rail dust, and industrial fallout stuck in the paint for a better shine and protection.
- INCLUDES LUBER CLAY LUBRICANT – Special Chemical Guys clay luber formula ensures the clay glides across the surface to minimize marring and maximize cleaning performance
- PREPS PAINT FOR POLISHING OR WAX – Essential first step before applying sealants, ceramic coatings, or wax for optimal bonding and results; a great addition to your car detailing kit
- SAFE FOR ALL VEHICLES – Use on cars, trucks, motorcycles, RVs, boats; a versatile auto detailing that is safe on clear coat, chrome, glass, plastic, and paint protection films
Any leftover dried patches of paint should also lift off quite easily. Use your toothbrush for smaller areas and any nooks and crannies.
Step 5 – Clean with Water
Rinse away any leftover dried paint and remover with fresh, clean water.
Again, as above, you can use a pressure washer on a low setting if you are experienced with using one. This is not essential and a pail of water and a rag will work just as well.
Step 6 – Scraping the Excess Paint
Your aluminum wheels are more likely than alloy to have leftover paint on them. However, because you cannot use sandpaper or a drill in case of damage the only option is to scrape away the paint residue.
Use a wire brush or plastic scraping tool to remove any excess dried-in paint, rinsing well with water each time. Do this gently so as not to scrape or damage any of the aluminum underneath. Repeat this until all the paint has been removed.
Summary
Removing spray paint is tedious, time consuming but often necessary (such as an accidental spillage or simply a change of mind).
Following our detailed guide can make your life just that little bit easier, regardless of whether you have alloy wheels or aluminum ones.
Windows Errors? Fix Them Before They Spread
Repair common Windows errors and clear accumulated junk for a smoother, more stable PC - no reinstall needed.Free scan · no reinstallOutdated Drivers Are Slowing You Down
One free scan finds every outdated or missing driver and matches the right update for your exact hardware.Free scan · exact hardware matchRemember, set yourself up with the right tools and follow the instructions on your paint stripper or thinner very carefully.
You should also make sure that you do not leave the stripper on your tires for too long, ensuring first that it is suitable for them, and never leaving it on for more than the specified time.
Thank you for reading our article, and good luck with your paint removal!

The Tool Desk
Outbyte PC Repair FREERepair Windows errors before they cause bigger problemsFix Now →Outbyte Driver Updater FREEScan for outdated or missing drivers - takes under a minuteDriver Scan →Jim Bettesworth well known for his can-do attitude and often takes jobs other companies were unwilling or unable to do. Experienced and educated in concrete construction and painting jobs. Read More.
Do these 3 things before closing this tab:
1Repair Windows errors before they cause bigger problems2Fix the driver behind crashes, sound loss and screen glitches3Clear out junk files and repair common Windows errorsQuick Recap
Product prices and availability are accurate as of the date/time indicated and are subject to change. Any price and availability information displayed on Amazon at the time of purchase will apply.




